by Lemon Lines | Jun 5, 2013 | Free Printables
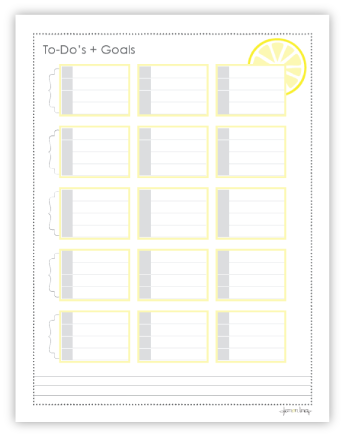
Everyday presents a new adventure with loads of things to get done and remember throughout each hour, which makes it almost impossible to remember everything without writing it down. That’s why we created this multi-functional printable specifically for your daily to-do’s and goals. Here are several different ways to get the most out of this great piece:
- Daily To-Do Checklist – For a full month, simply print off two copies. Each yellow box will represent one day. You can also add the day and date above each box.
- Weekly To-Do/Goal Summary – One copy of this printable represents five weeks. Label each week on the left-hand side of each week. Your week will be broken down into three, easy to manage, segments.
- Sticky Note Template – Each yellow box is the exact size of a small sticky note. Print off one copy to use as a template. Place small sticky notes on each box. Use the editable format and type your to-do’s and goals. Print. Now you can take your reminders wherever you go! Another handy way to use this with sticky notes is to line up your sticky notes on a blank sheet of paper, then print the To-Do’s + Goals printable so you can have the shaded boxes and lines on your sticky notes. This method makes it easier for you to jot down items throughout the day if your away from your computer, just grab a note and go. You can also place them back on your template once you no longer need them on-the-go, but want an overall view of the topic at hand, your day or your week.
- Business Planning – Categories each set of squares by labeling the decorative frame such categories as, “administrative,” “accounting,” “sales,” “inventory,” “marketing,” “advertising,” “philanthropic,” etc. You can do this one of two ways: 1) list your ideas across the board in all three boxes, remembering to include contacts or sources. 2) Start by putting your goals for each category in the third box, then work backwards by writing what needs to get done to reach your goal in the first two boxes.
- Flow Chart – Use the decorative frame on the left-hand side of the first square as a bracket to describe your mini chart. Then add arrows, plus, minus or equals signs between the boxes, both across and below.
- BONUS: Save paper and resources by laminating your printable. Just grab a fine point dry erase marker and you’re set!
Have another idea on how to best use this Lemon Lines Printable? Please let us know how you use this printable. We’d love to hear all about it!
by Lemon Lines | May 27, 2013 | Main Squeeze
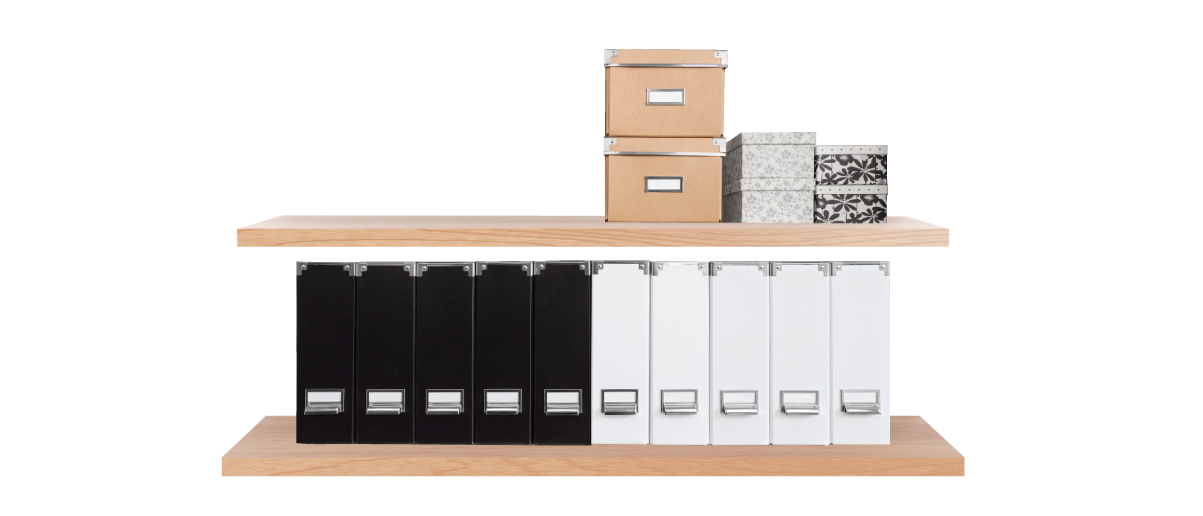
We spend 30 minutes per day looking for things.
The average person uses only 20% of the items they own.
by Lemon Lines | Dec 27, 2012 | Uncategorized
Nothing excited me more this Holiday season that getting all of my decorations out and adding more to the mix in leu of my darling son’s arrival this past November. Something about the season and kids just go together so well and I’m sure extending the family by adding one more member warmed my heart and the heart of my parents and sister as well. The toughest task was climbing through our cardboard box and plastic bin filled garage to hunt for my beloved Christmas decorations. After a bit of searching, I found them (comparable to finding the holy grail – no joke). I happened to have a small Christmas tree and a hearty supply of every cheery, rustic and romantic red and gold knick-knack to trim my precious little faux pine from top to bottom. Accompanying the main attraction was a lush generic wreath with large magnolia leaves, and a good helping of pine swag with cinnamon sticks and pinecones. As if these traditional items weren’t enough, I had the urge to add more.
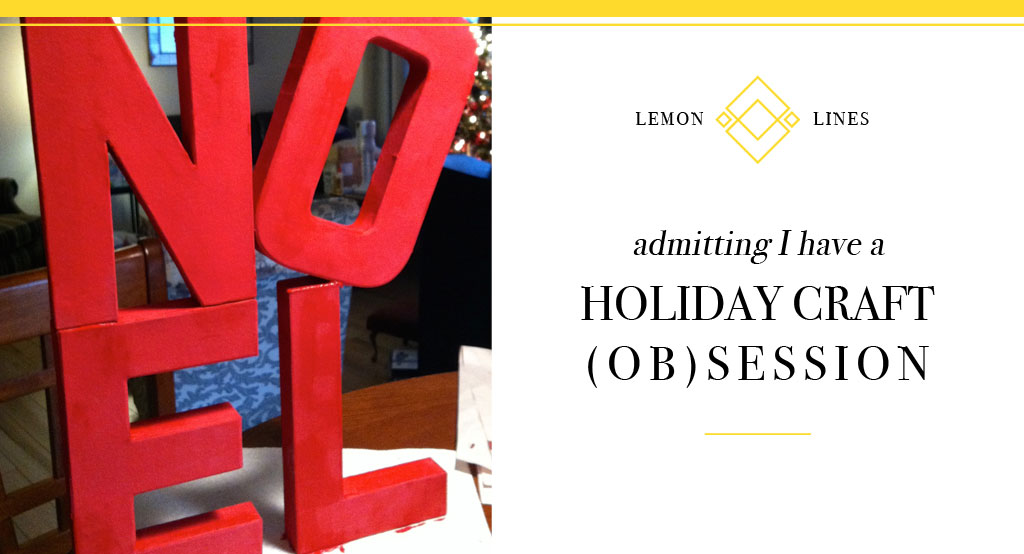
This year I added my “Noel” paper maché letters, which I painted bright red and hot glued together. I was pretty surprised when it held up, as it was shockingly sturdy. I also added the stuffed bears along the underside of the tree (so it didn’t look bare without any present) and I made an ice block “present.” The ice block present was a cinch to make and literally took under fifteen minutes to create. And last, but not least, I had the pleasure of taking my son to see Santa for the first time and of course framed the photo. Granted he was sleeping through the whole photo shoot, but it made for a great photo-op since Santa played along and added a little sparkle of personality for our everlasting memory. I love everything so much I have yet to take any of it down. I have a feeling though that it’s been long enough.
I also have a list of more items that I want to create, but I guess it will have to wait until next December (or maybe Christmas crafting in July will be on my agenda this year). I can’t wait to make Christmas a holiday my son will always remember throughout his childhood and to create traditions he will cherish forever.
Cheers to a great holiday!
by Lemon Lines | Sep 18, 2012 | Uncategorized
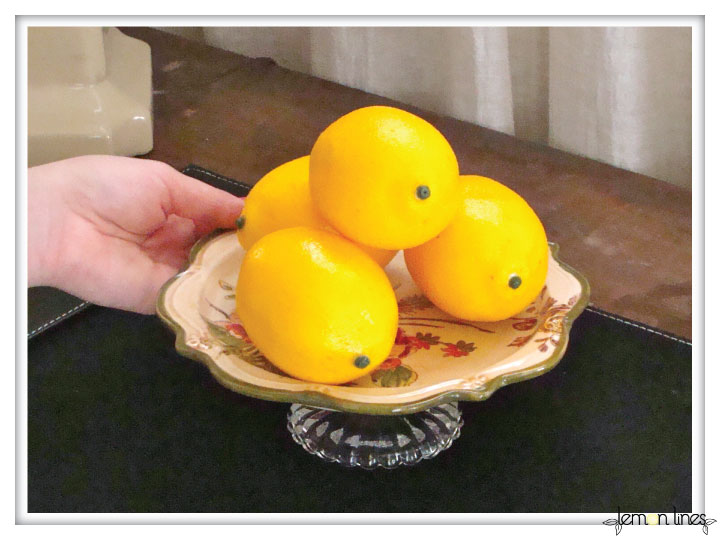
A quick, fun way to add a little sophistication and varying height in your table or desk decor (or a great way to serve cookies too!). Initially, my mother-in-law gave me this clever idea and when I was looking for a way to display lemons on my desk, I reverted back to this nifty piece that is extremely easy to make. I then set out to visit the local thrift and luckily came across some classy finds that worked perfectly with look I wanted in the room and my work space. I found a pretty candle stick holder at just the right height and a super-cute dish for a little less than $2.00 total.
To make your own, here is what you’ll need:
- Appetizer or Dessert Dish/Plate
- A Tapered Candle Stick Holder (any height works, but I recommend sticking with 3″-4″)
- Rubbing Alcohol (for cleaning the area that you will apply the glue and adhere the candle holder)
- Cotton Balls or a Paper Towel
- Craft Glue

Step 1: Clean the area on the underside of your dish and the top of your candle stick holder with rubbing alcohol and your cotton balls or a paper towel.
Step 2: With the underside of your dish face-up, place the candle stick holder in the center of your dish.
Step 3: While holding the candle stick holder in the middle of the underside of your dish, apply your glue between the candle stick holder and dish. Or if you have a good idea where the middle of your dish happens to be, you can apply the glue to the top of the candle stick and then place it in the middle. However, I found that the glue holds much better if you apply the glue while the candle stick holder is already on the plate – you’ll get a more secure bond.

Step 4: Let your new creation dry. I let my dry overnight to make sure that the glue is completely dry and the bond is as strong as possible.

It took me less than 10 minutes from prep to clean-up to create my plate stand and I know this project is easy enough that anyone can create their own. Now, I’m going to enjoy my beautiful display of lemons and will most likely swap it out for some freshly baked sweet treats once a week. Be sure to send in your comments or photos of how your project turned out, and how you use your sophisticated plate stand.
Enjoy!
by Lemon Lines | Sep 18, 2012 | Uncategorized
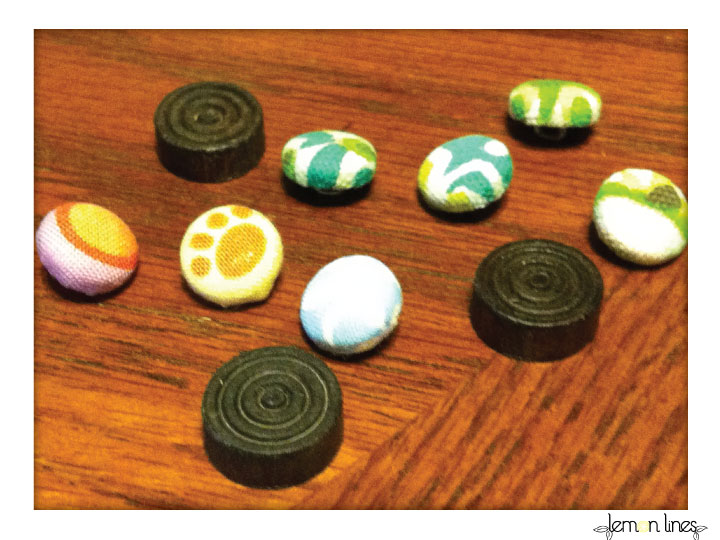
Before making our big transition to the new house, I wanted to make sure everything was ready to go as soon as we stepped through the front door. A little unrealistic, but I did my best and gave old items an update before making the switch. One item in particular that took no time at all, was my cute little key hook/cork board which would go by our front door. The old push pins it had were broken and didn’t have their “pins” anymore and overall it was looking a bit dark and tired. I decided to liven it up with making additional push pins out of small buttons and thumbtacks. Who would have guessed this really would be a super easy project that would be done in a flash! Here’s how I created mine and how you can create yours too:
What you’ll need:
- Small, unfinished buttons or a Button Cover Kit
- Material to cover your buttons
- Thumbtacks
- All-purpose glue
- Wire cutters/needle nose pliers
Step 1: Cover those buttons! Cut enough fabric to cover each button and follow the steps on the package on how to achieve this. (It’s super easy!) Or visit our friends at Imagine Fabric to get a step-by-step how-to on completing this step.


Step 2: Cut or remove the back of the button off with your wire cutters/needle nose pliers. (The part you would sew through to attach each button to your shirt or other project.)
Step 3: Apply your glue to the back of each button once the metal “loop” has been removed.
Step 4: Place your thumbtacks (thumb side down) into the back of your button. Let dry.

That’s all there is to it! Once you’ve let these little gems dry, you can place them on your cork board for the world to see.
Enjoy!

 Posted with Blogsy


