
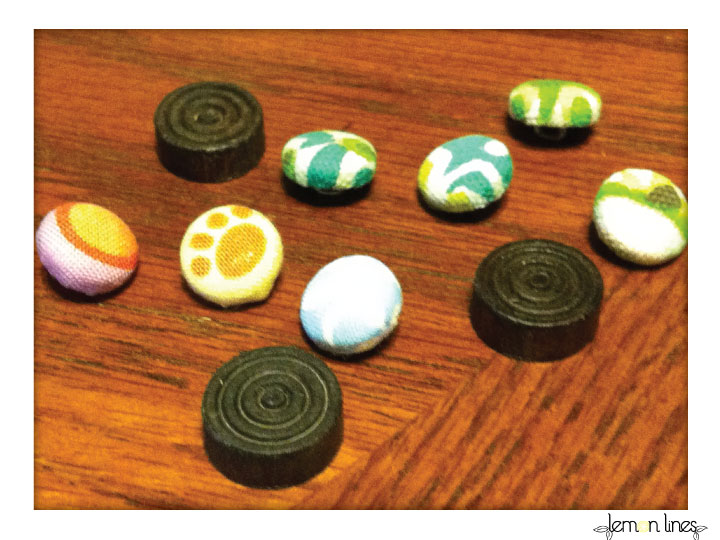
Before making our big transition to the new house, I wanted to make sure everything was ready to go as soon as we stepped through the front door. A little unrealistic, but I did my best and gave old items an update before making the switch. One item in particular that took no time at all, was my cute little key hook/cork board which would go by our front door. The old push pins it had were broken and didn’t have their “pins” anymore and overall it was looking a bit dark and tired. I decided to liven it up with making additional push pins out of small buttons and thumbtacks. Who would have guessed this really would be a super easy project that would be done in a flash! Here’s how I created mine and how you can create yours too:
What you’ll need:
- Small, unfinished buttons or a Button Cover Kit
- Material to cover your buttons
- Thumbtacks
- All-purpose glue
- Wire cutters/needle nose pliers
Step 1: Cover those buttons! Cut enough fabric to cover each button and follow the steps on the package on how to achieve this. (It’s super easy!) Or visit our friends at Imagine Fabric to get a step-by-step how-to on completing this step.


Step 2: Cut or remove the back of the button off with your wire cutters/needle nose pliers. (The part you would sew through to attach each button to your shirt or other project.)
Step 3: Apply your glue to the back of each button once the metal “loop” has been removed.

Step 4: Place your thumbtacks (thumb side down) into the back of your button. Let dry.

That’s all there is to it! Once you’ve let these little gems dry, you can place them on your cork board for the world to see.
Enjoy!